Authentication
You'll need to authenticate your requests in order to read or write to any private resources on the Lightfunnels API. In this guide, we'll look at how authentication works. Lightfunnels uses the industry-standard protocol for authorization, OAuth2.
The access token
Think of the access token as a password that lets your app perform actions on an account.
Your app will have a different access token to each account that you want to access. The access token helps identify which account you are trying to access as well as what actions (see scopes) you are allowed to take on the account.
Getting an access token
In order to get the access token for your account, you need to perform the following steps:
- Send the user to a consent screen to grant permissions to your app
- Request the access token and save it in order to use it in all your requests
Let's get started
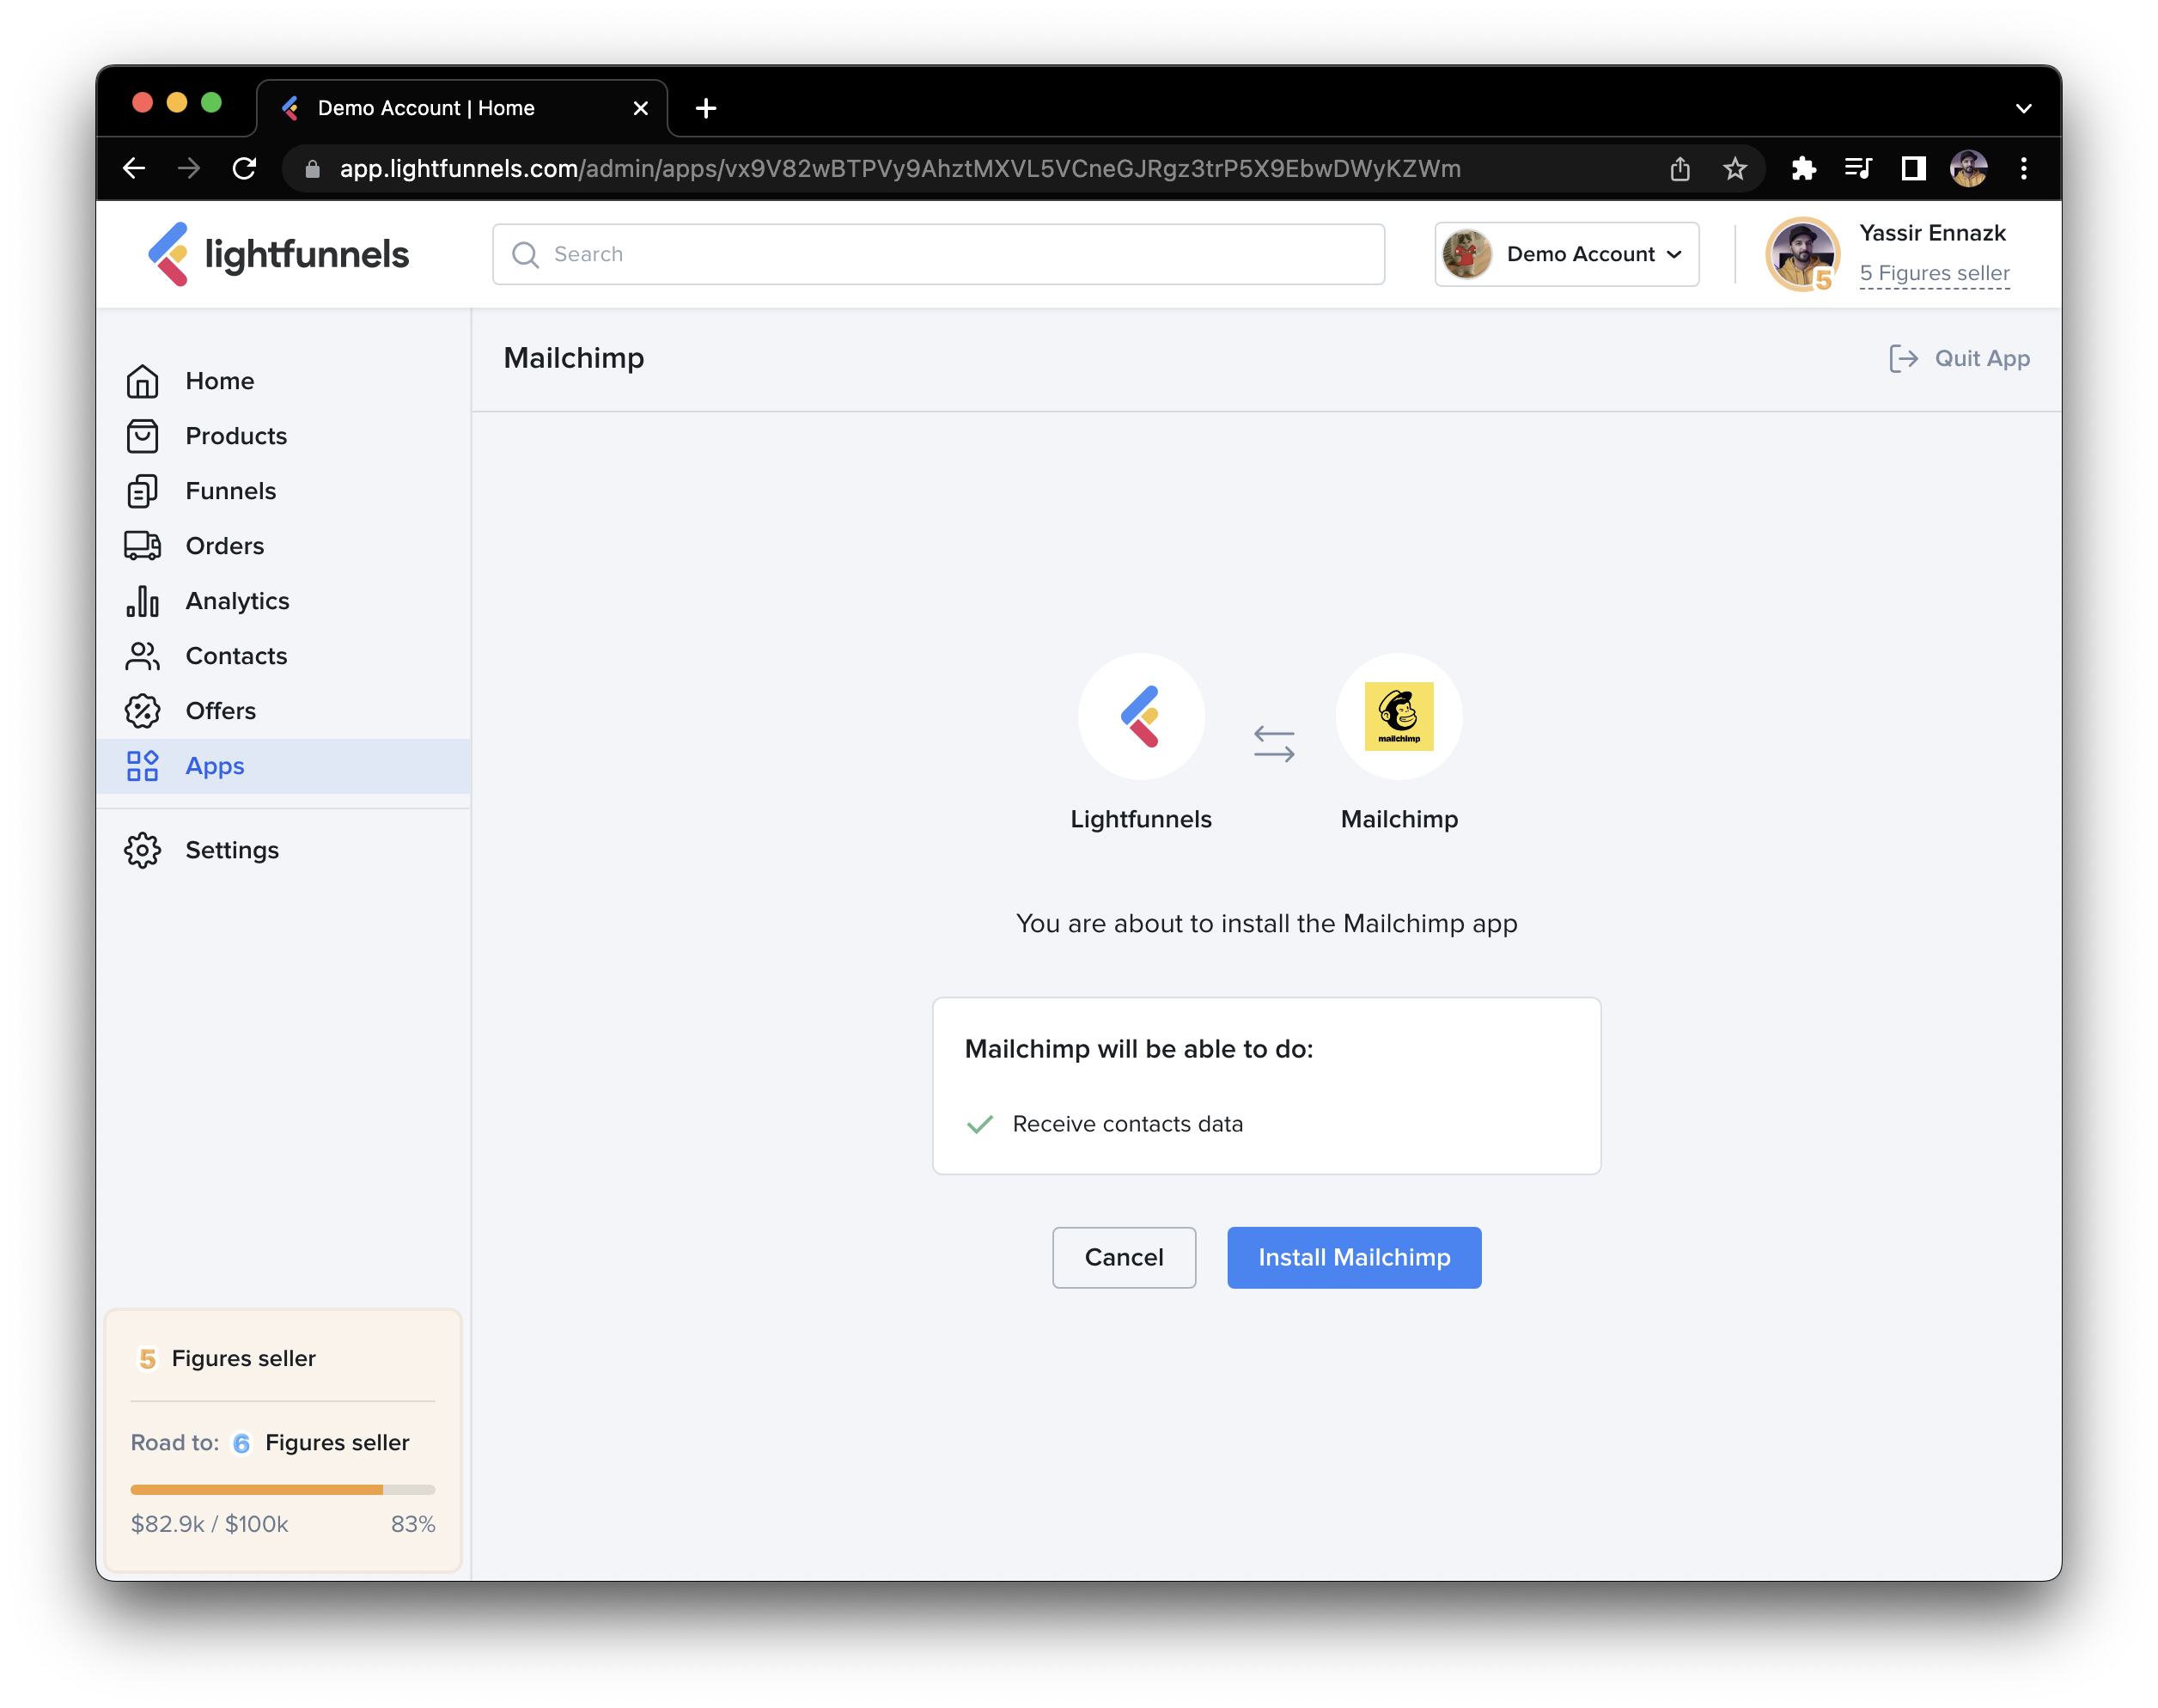
Step 1 - Consent screen
In order to get an access token, you have to ask the user for the permissions that you want to use.
The way you do that is through a consent screen.
To create a consent screen you will need the make a GET request in the following format:
Consent screen parameters
https://app.lightfunnels.com/admin/oauth?client_id={{client_id}}&redirect_uri={{redirect_uri}}&scope={{scopes}}&state={{state}}
client IDthat you will get after creating your app. Example:9461026524765762404265764243- A comma separated list of scopes that you want to get the permission for. Example
products,orders Redirect URIwhere the user will be redirected after they accept the permissions. Examplehttps://yourapp.com/redirect- Optional:
stateparameter that will be returned to you in the redirect URI. Example123.
Important: The redirect URI must be whitelisted in your app configuration.
Using the example values above, this is what your consent screen URL would look like:
Example consent screen URL
https://app.lightfunnels.com/admin/oauth?client_id=9461026524765762404265764243&redirect_uri=https://yourapp.com/redirect&scope=products,orders&state=123
Step 2 - Getting your access token
Once the user accepts the requested permissions on the consent screen, they will get redirected to the redirect URI that you used in Step 1, with an authorization code variable added in the query string.
You should send a POST request to https://api.lightfunnels.com/oauth/access_token with a JSON body containing your client_id, client_secret, and the code you received. Here is an example ts code:
const getOAuthToken = async () => {
  const clientId = 'client_id';
  const clientSecret = 'client_secret';
  const tokenUrl = 'https://api.lightfunnels.com/oauth/access_token';

  try {
    const response = await fetch(tokenUrl, {
      method: 'POST',
      headers: {
        'Content-Type': 'application/json',
      },
      body: JSON.stringify({
        client_id: clientId,
        client_secret: clientSecret,
        code: 'the authorization code from the query string'
      })
    });

    if (!response.ok) {
      throw new Error(`Error: ${response.status} ${response.statusText}`);
    }

    const data = await response.json();
    console.log('OAuth Token Response:', data);
    return data.access_token;
  } catch (error) {
    console.error('OAuth request failed:', error);
    return null;
  }
};

// Call the function
getOAuthToken().then(token => {
  if (token) {
    console.log('Access Token:', token);
  } else {
    console.log('Failed to retrieve access token.');
  }
});
Response example
{
    "access_token": "YOUR_ACCESS_TOKEN",
}
Important notes
- While testing, the authorization code will only work once. If you need to test again, you will need to go through the consent screen again.
- The client secret is private and should never be shared.
- The access token is permanent and should be saved in your database. You will need it for all your requests.